Users Who Spiked
ORGANIZATION TIPS: HOW TO ORGANIZE YOUR KITCHEN PANTRY IN 5 EASY STEPS


Private Notes
Private Notes
Notes


Organization Tips: How To Organize Your Kitchen Pantry In 5 Easy Steps
Is finding what you need in your kitchen pantry an ongoing challenge? Do you desire to have a more organized kitchen pantry in your home? You can accomplish this in five easy steps!
Benefits of an Organized Pantry
Having an organized pantry helps you and your family to save time. It allows you to be able to access food as well as nonfood items quickly and easily. Organizing your pantry will help you save time preparing meals for the family throughout the week and months ahead. An organized pantry also allows you to take a quick inventory of items on hand and items needed for your subsequent trip to the store.
How To Organize Your Kitchen Pantry In 5 Easy Steps
Read through each of the stages below in how to organize and create a plan of attack for your pantry organizing. Purchase any additional needed items for your pantry reorganization – clear containers, stackable containers, plastic bins, crates, see-through clear shoe boxes, and so forth. You may need to measure your shelves beforehand to know how well specific containers will fit.
If you want to organize without making purchases of new containers, see what items you have in the home you can use to reorganize. This may include lazy Susan turntables, Tupperware containers, like size containers, so forth.
Let's take a few minutes to appreciate the five steps:
Remove Pantry Items – When you are ready to organize your kitchen pantry area, the first step is to remove all items from the pantry. It is best to do this when you have time to follow through with each of the stages of organization. You will have time to focus intentionally on the task at hand.
Clean the Pantry – Now, it is time to clean the pantry shelves, walls, and surrounding area. Starting with a clean pantry is a great way to "start fresh."
After cleaning the pantry, line shelves with shelf paper. If you like your walls to be decorated, you can choose beautiful wallpaper or wall designs to add before placing items back into the pantry area.
Reorganize the Pantry – Create spaces with liked items. It is best to place lighter items in higher areas. For example, I want to place canned goods lower. If for some reason, one is dropped, their height is lower (personal preference for me).
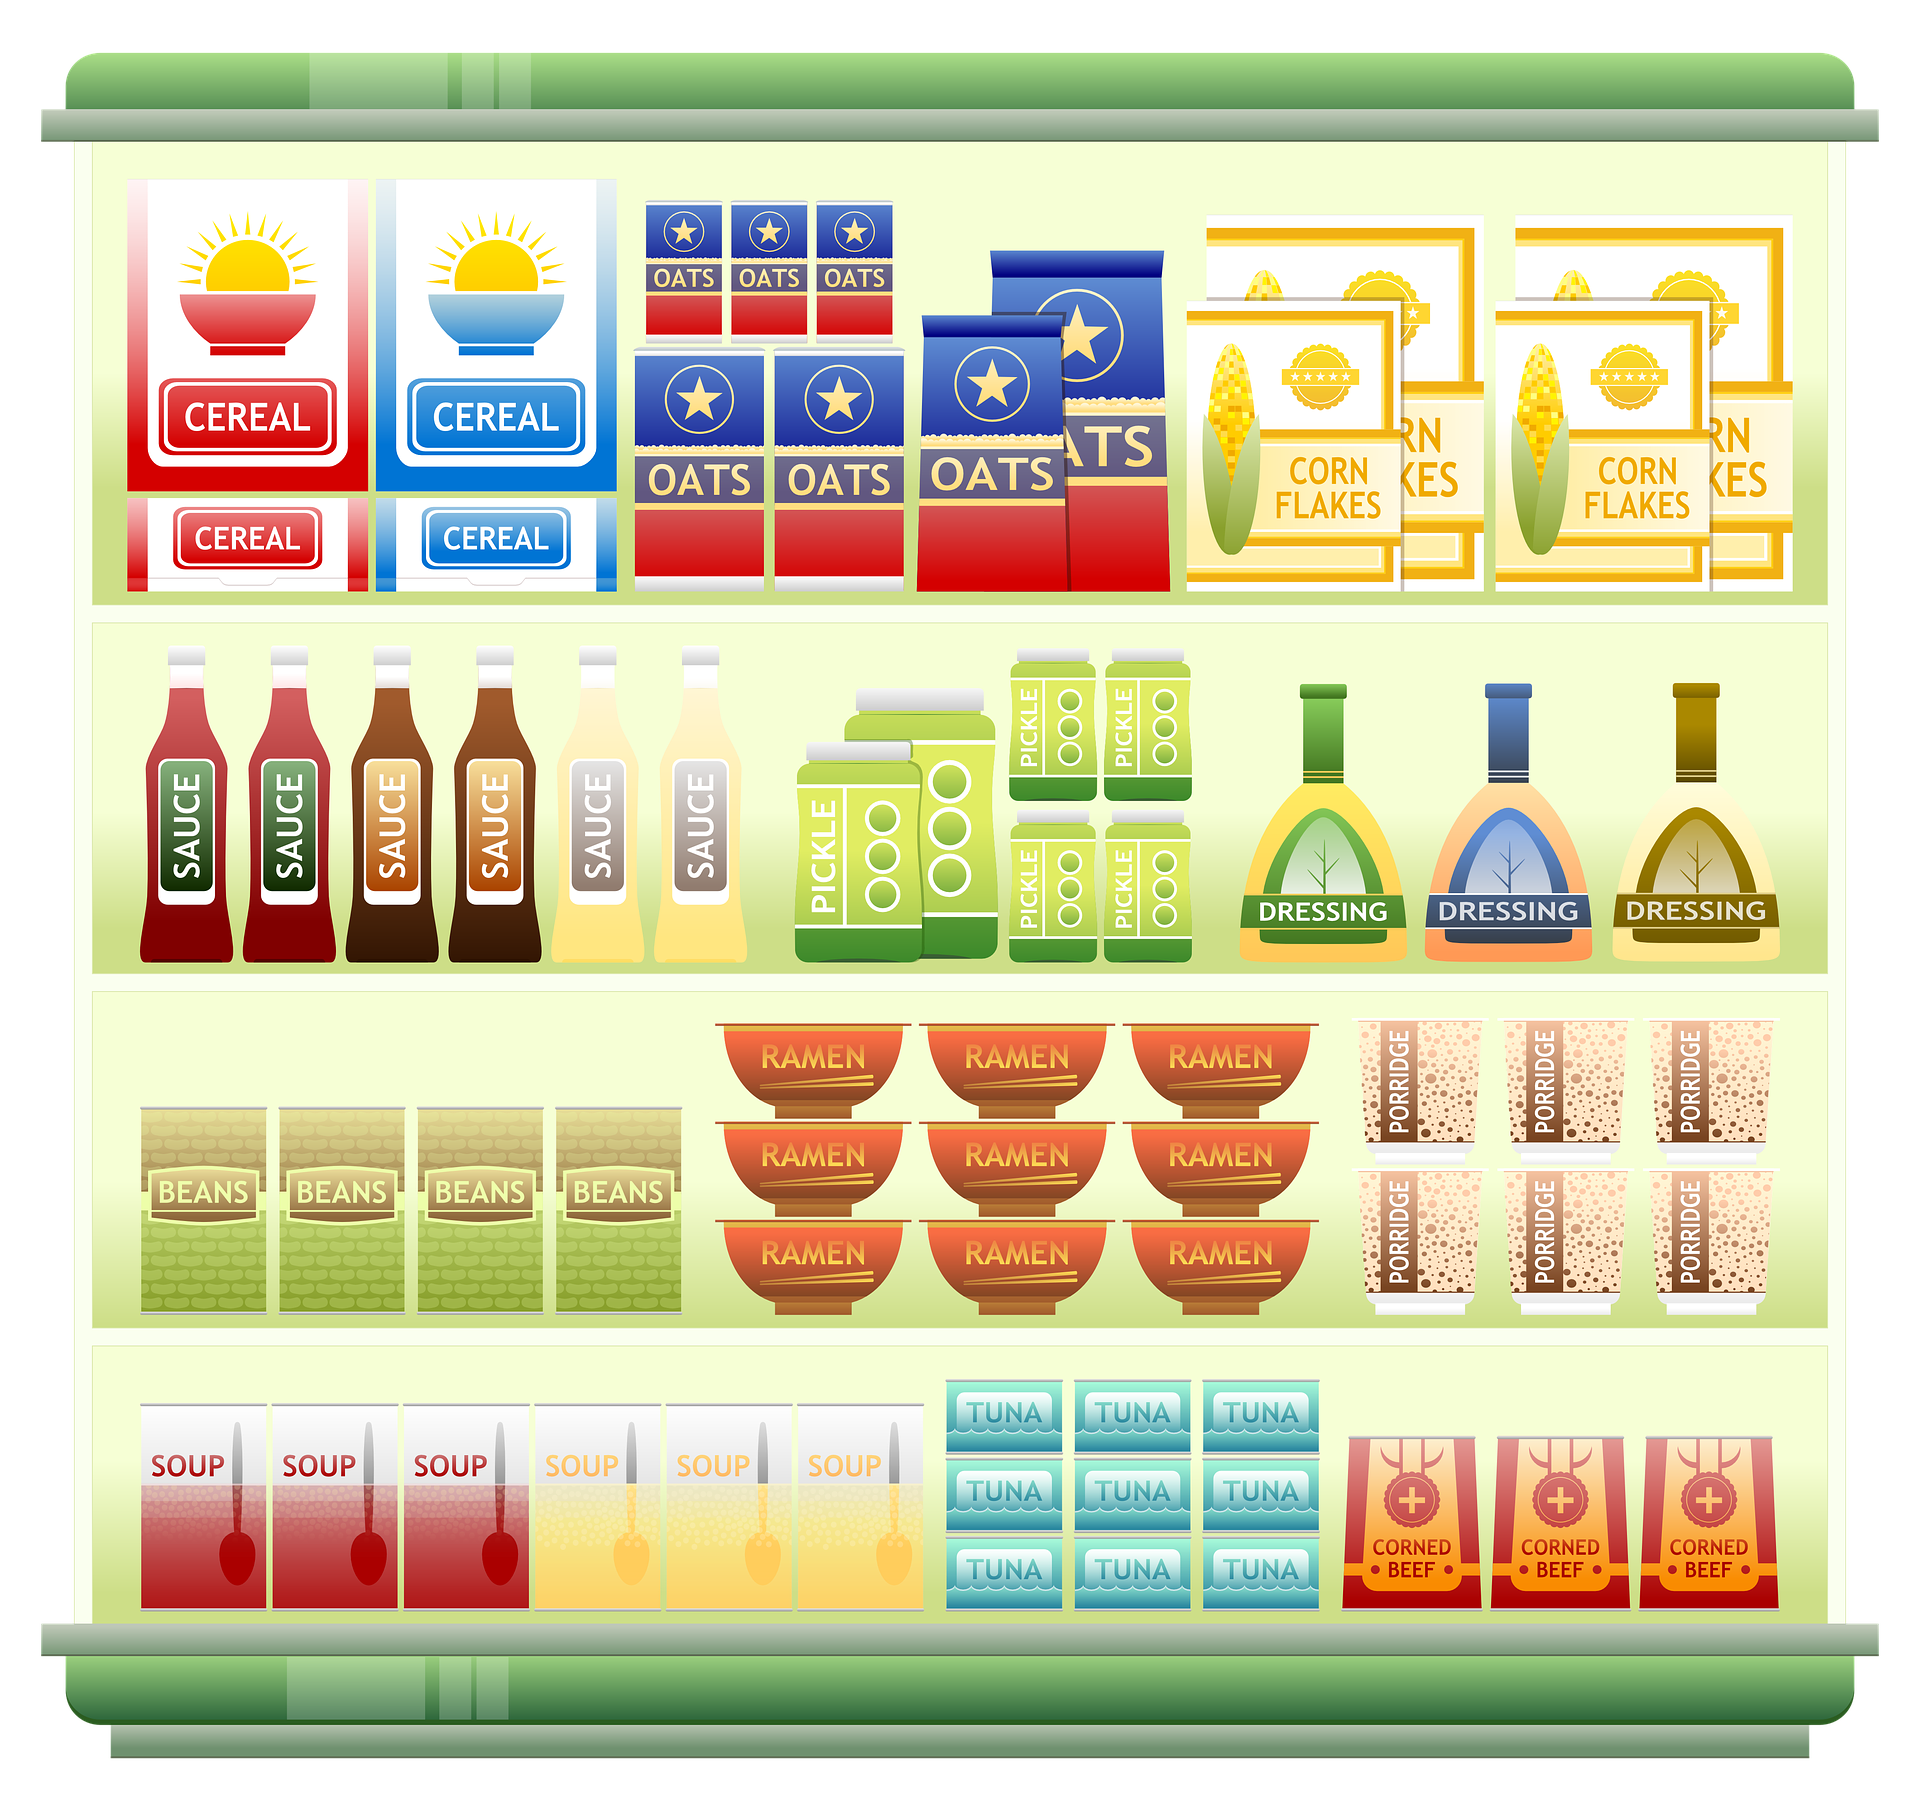
Depending on the items you have in your pantry area, you can create the following zones – canned goods, pasta, beans, boxed items, oils, spices, seasoning packets, cereals, and so forth.
Some families create an "instant" meals area for quick access. Moreover, other families like to create a snacks section for children with easy access.
Label storage containers if needed, especially if they are not see-through. You can use a sharpie to tag your items. Alternatively, you can use a label maker, or even create fancy labels using a Cricut or other printing machine.
Use lazy Susan turntables in corners or utilize corner shelves to allow the use of all available space. Lay boxes flat and stack up to place more boxes in one section. Place taller items towards the back of shelves and shorter items towards the front to allow you to "see" more.
Depending on the quantity of space you have, you may also add non-food items in your kitchen pantry. This can include paper towels, extra foil, additional Ziplock bags, and back up cleaning supplies. Remember to keep food items separated from cleaning supplies – on different shelves if possible.
Use Door & Wall Space – Using door and wall space is a great way to add "more space" to your pantry area. One idea includes adding wall strips with clips for chips and smaller packages of snack items.
Another idea is to add small wall baskets or even using a clean shower rack will add additional space to the wall. Using wall hooks will allow you to add hanging items to the pantry area.
Organize, Achieve & Maintain – Once you have reorganized your kitchen pantry space and achieved your space planning goals, it is time to maintain. Plan once a month, or weekly if needed, to straighten your pantry area. Take a quick inventory of items required for your next shopping trip.
Use older items first and newer items later. When placing new pantry items in the kitchen pantry, place newer food items to the back of the pantry. If you are laying boxes flat and stacking, place newer items in the bottom of the stack. This way, you will use the eldest items first.
Once each year (or twice), I like to go through all my food items checking expiration dates. I mark cans & boxes with the times (month & year of expiration) with a sharpie. This helps me to see at a glimpse when the item expires without having to search on the item label for dates. Also, I place things which need to be used to the front.
Another great idea to stay organized in the kitchen pantry area is to create a pantry inventory sheet. Include regularly used items on the inventory sheet. You can even use a clipboard inside the pantry door with a few copies of your inventory sheets. When it is time to go to the store, check your inventory list. Moreover, add needed items to the shopping list.
An Organized Kitchen Pantry
Achieve an organized kitchen pantry space using these five easy steps – first, remove all items from the pantry. Then, clean the shelves and walls. Line the shelves with shelf paper if needed. Decorate as you desire and use your plan of action to reorganize the pantry. Additionally, create a plan to maintain your newly organized space. Now, you have an organized kitchen pantry!
Do you have additional pantry organization ideas you would like to share? What are your favorite pantry storage items to use to stay organized? I would love to hear your thoughts and ideas! Please leave a comment below and let me know!


Related Stories


Awesome Kiersten! It is a great time to get started - before the upcoming holidays!