Users Who Spiked
POWER SMOKELESS GRILL - PART TWO - RUBS, RIBS & CHICKEN


Private Notes
Private Notes
Notes


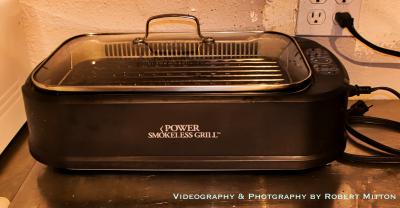
In part one of this multi-part series on the Power Smokeless Grill, I spoke about the need of finding a good indoor smokeless grill for my basement apartment kitchen. The Power Smokeless Grill was not the first grilling unit that I tried and I was looking for something that truly works for me, had this unit not worked out for me, I would have returned it and kept looking for the best solution.
If you have not yet seen the first part of this review it covered the taking apart and examination of the cooking unit, as well as showing you how I use the griddle plate to cook a simple Asian meal of turnip cake, pancake, and jasmine rice. A homemade sauce was made as well.
In Part Two I will go over how I learned to better use the Power Smokeless Grill to create a nice char on whatever you might be attempting to char. Though you can get a char going without doing any more than putting the food on the grilling plate, it is a good idea to give it catalysis. This can be done in a variety of ways, although this review will only go over rubs.
What is a good rub?
There is no one absolute answer to this, or even three, this is mostly dependent on personal preference. The key thing to keep in mind, you would like the rub to create a nice coating that will permeate the food while also increasing the charring rate.
Being that I am not from Texas and I am talking about grilling ribs, I'm talking about pork ribs, not beef. Now I understand them might be fightin' words, but people do take their BBQ seriously. That being said, there are many different ways to grill or BBQ ribs.
One of the great methods of making ribs is by using a rub, which in some BBQ worlds is known as "Memphis Style". The rub that I make in this review is nothing more than a common sense, kitchen sink recipe made from ingredients on hand. This is exactly what I suggest for a rub recipe, use whatever makes sense to you and your taste buds.
The amount of ingredients that are in this rub is certainly excessive but it can show you just what you might want to throw in.
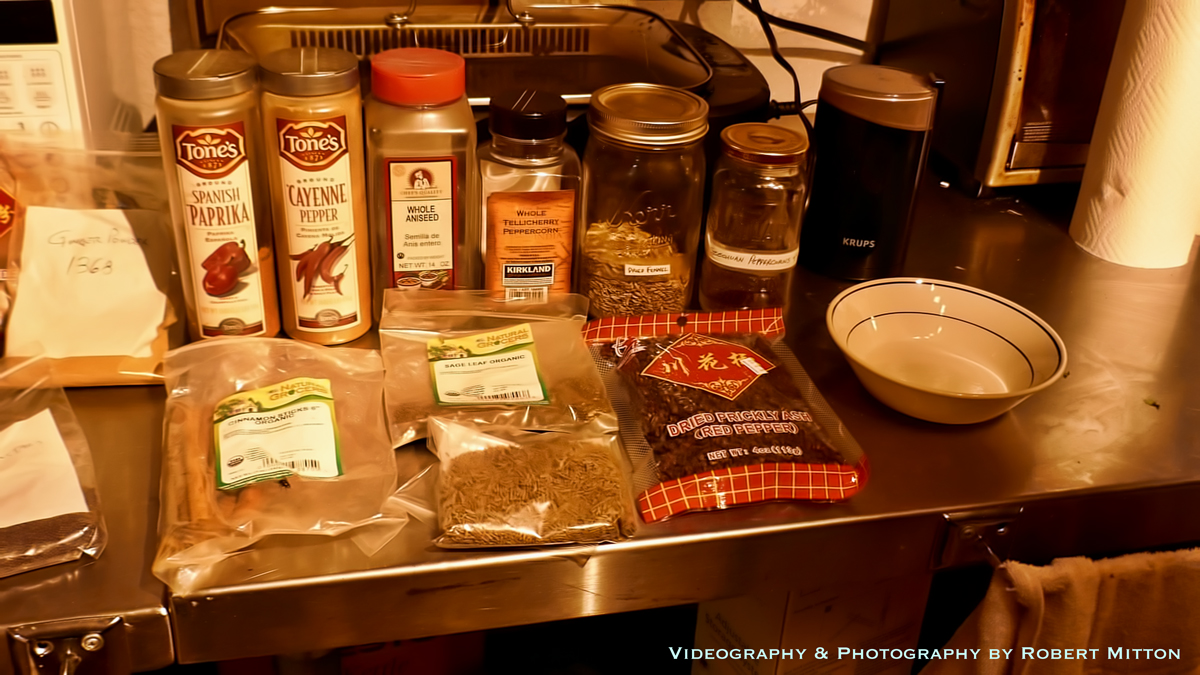
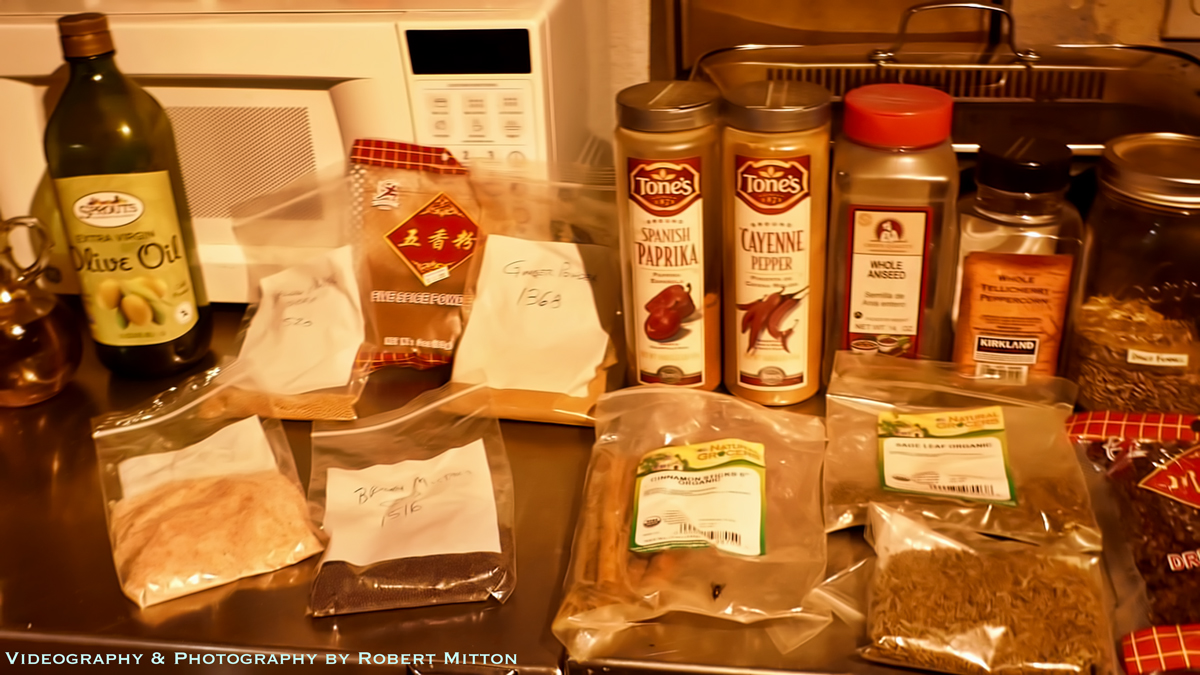
The ingredients used for the rub:
Dried Prickly Ash or Sichuan Red Pepper
Black Pepper Corns
Fennel seed
Cumin seed
Anise seed
Yellow Mustard seed
Brown Mustard seed
Cinnamon stick
Organic Sage
Cayenne Pepper
Paprika
Ginger Powder
Five Spice
Himalayan pink salt
Olive oil
Balsamic vinegar
The above ingredients were then made into a thick paste.
After draining away most of the blood from the package of ribs and pat drying the ribs, cover the ribs in a coating of olive oil and rub it in.
A dry rub is primarily dry, but that does not mean that wet ingredients aren't to be used if desired. Using some liquid will help make a paste which helps to keep the rub on the ribs. Using a liquid like vinegar will help the rub permeate the ribs, so for this recipe, I used a little Balsamic vinegar and olive oil.
No matter how you grill or BBQ meat, the trick is slow and low. You keep the heat low and allow time to slowly generate a char and caramelization that is so desired in grilling. By allowing whatever meat you are grilling to cook slowly, you're also more likely to ensure the meat is thoroughly cooked.
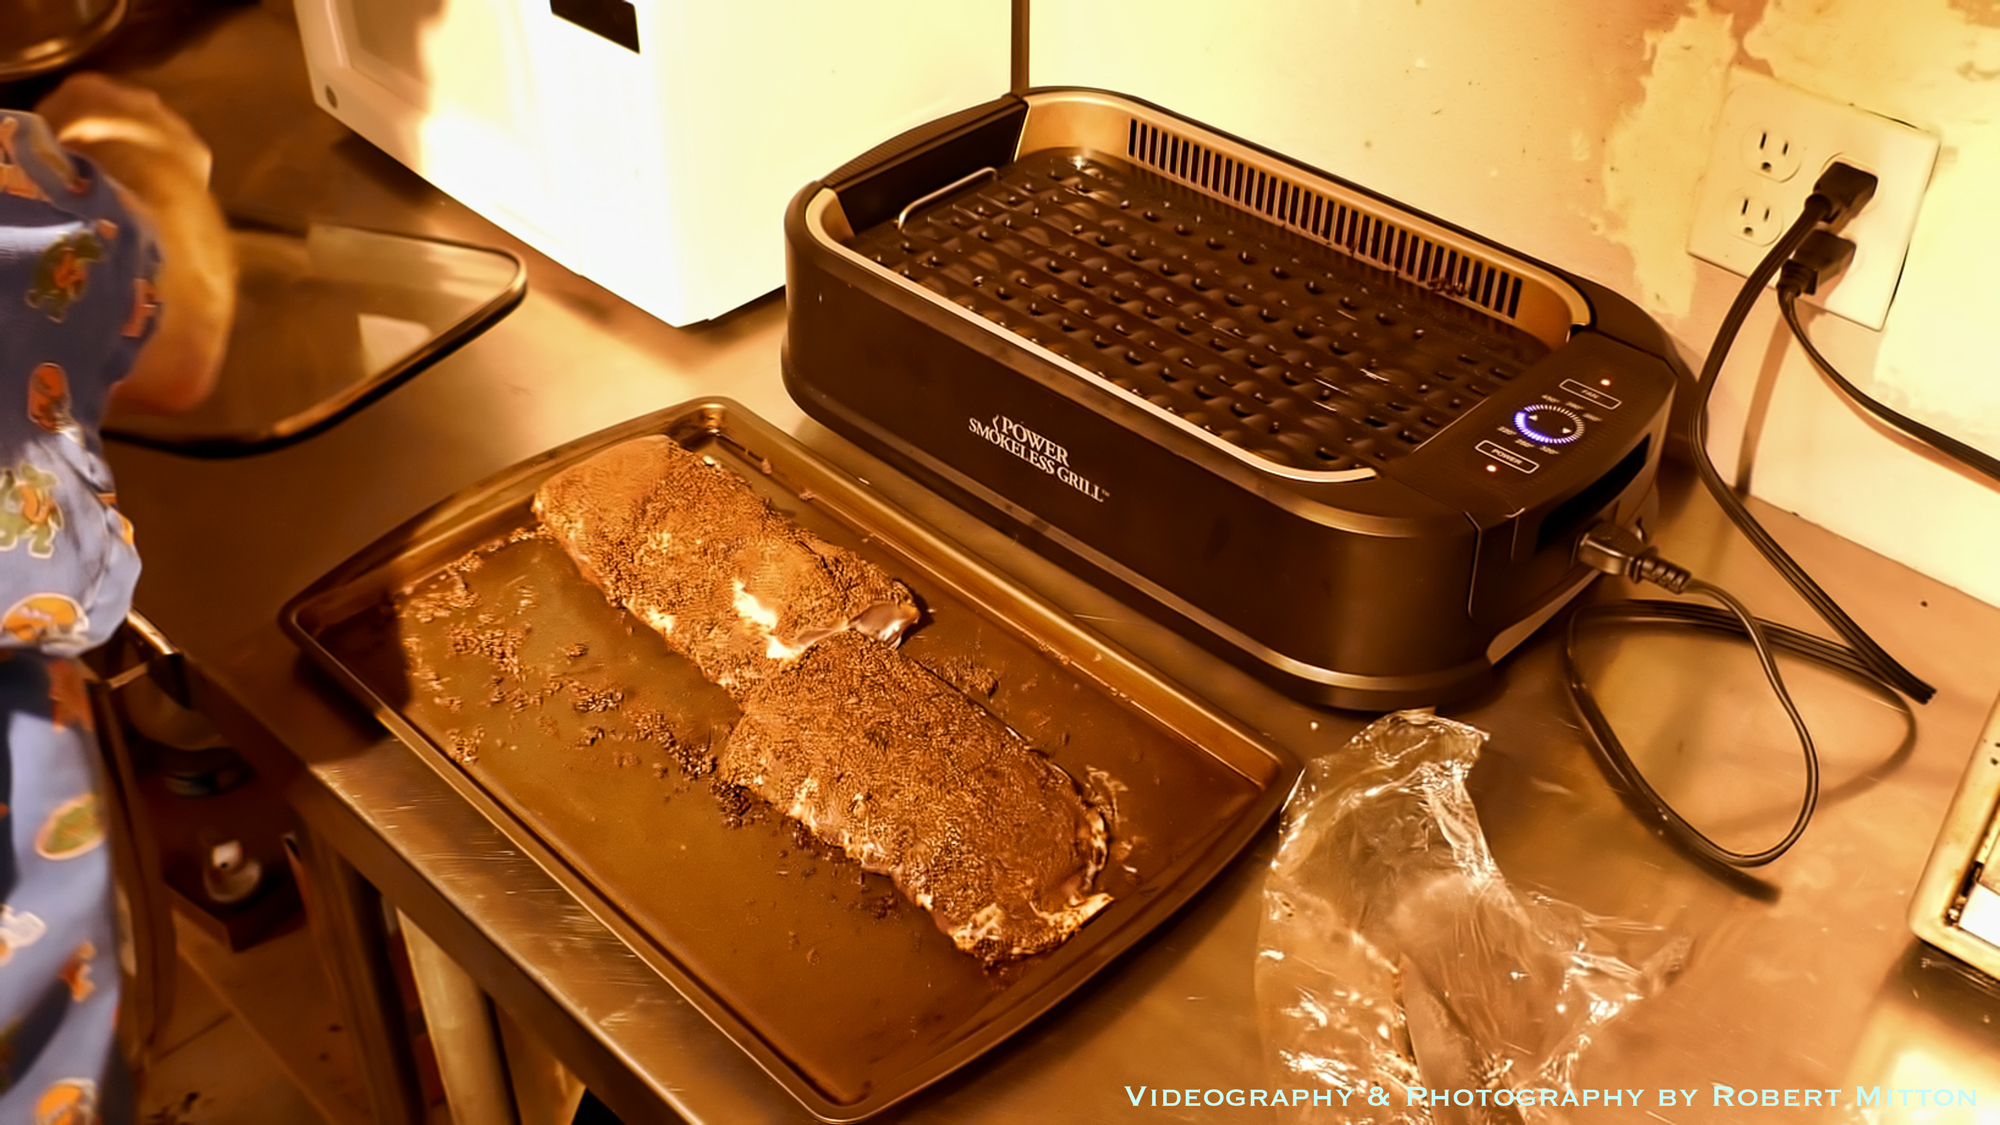
So drain the ribs from all the blood that might be in its packaging and then lay the ribs out on a tray. Thoroughly pat dry the ribs with paper towels, then rub olive oil all over the rack of ribs. The next step is to rub and pat in a thick coating of the rub to all the surface area of the ribs.
Once that is done, cover the ribs with plastic wrap and let sit at room temperature for an hour or so. Then put the ribs in the frig for overnight before grilling.
This was the first time that I've done ribs with a rub on the Power Smokeless Grill, but I figured four to five hours at 220 to 250 degrees might do the trick.
Though I started at 250 degrees, it was only a few minutes that I decided to move it down a notch to 220. It was a full two hours before I checked it the first time. After the two hours had elapsed I flipped the ribs over and there was a slight char starting. This is when I turned the temperature up to 250 degrees.
Two more hours went by and I checked the ribs again and they were looking pretty nice. I took one half-rack out and cut two ribs of the end. They were completely cooked. I decided to put the rest of that partial rack back in the grill and give the rest of the ribs about another 15 minutes before turning off the Power Smokeless Grill.
I have a habit of when I turn off the grill, I keep the fan running a few more minutes before turning it off and unplugging the unit.
The next meal that I demonstrate is a grilled chicken breast that was marinated in a sauce made with the leftover rib rub. Enough Oriental Worcestershire sauce, olive oil, and balsamic vinegar were added to make the marinade. The chicken breast grilled in the video sat in the frig for two days marinading.
The first side was grilled for about 13 minutes before it was checked and I decided to leave it on that side and grill for another six minutes. When I came back to flip the chicken breast, the ear of corn was placed on the grill. After about three minutes I checked to see how the corn was doing. I decided that I would need to come back about every six minutes to keep rotating the corn so that it would cook evenly.
It was a bit of a hassle to keep going back to the grill so many times to keep rotating the corn. I have a trick for steaming corn and other veggies in the microwave oven and I might just keep cooking my corn that way.
The chicken came out perfectly. Tender, juicy and full of wonderful flavors. It was enough for several meals. I made a spinach and chicken salad and two chicken sandwiches with the leftover chunk of the breast.
The Power Smokeless Grill is the perfect indoor grill! Winter is coming quickly and this might be the answer to how you can keep grilling all year long.


Related Stories